Coming soon!
A full tool for users where you will be able to:
- Save your favorite spots
- Add new spots
- Create your own profile
- Have a custom dashboard
- Connect with friends
- Exclusive deals on gear, plus member-only emails with special discounts
SharkWind News & Alerts
Latest updates across kiteboarding, windsurfing, surfing and wind-powered sports.
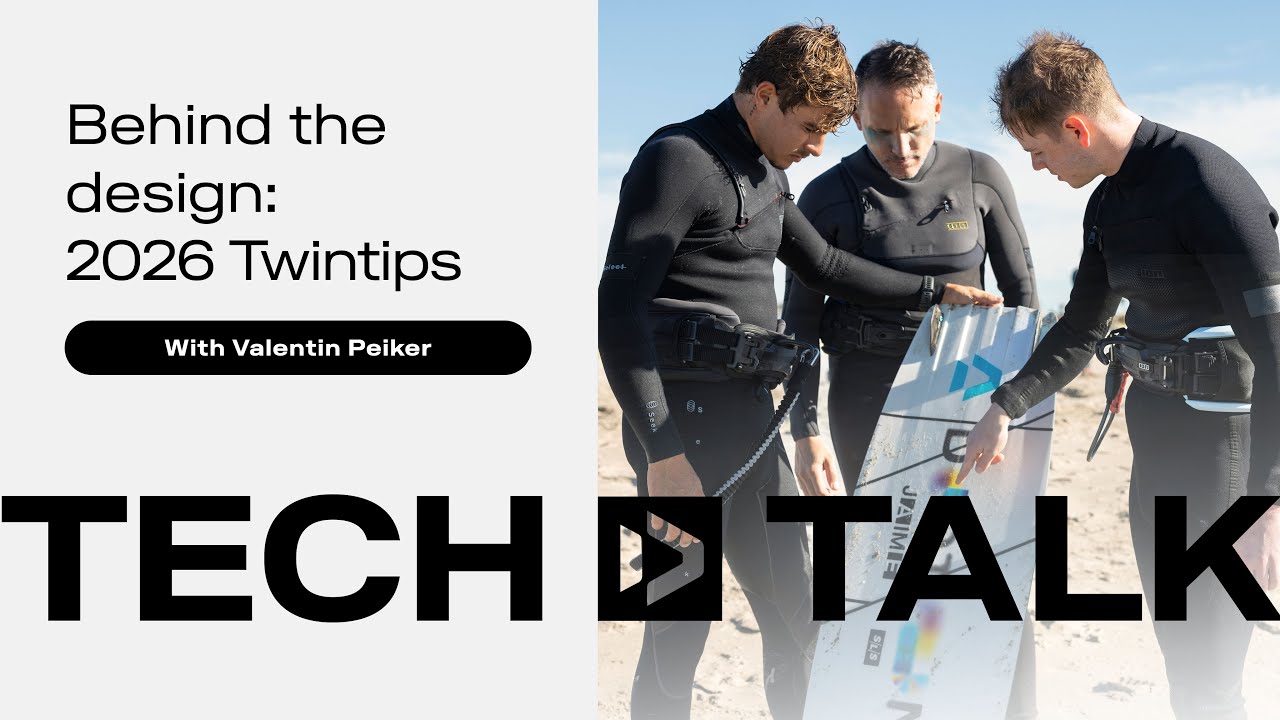
Tech Talk – Behind the design Twintips 2026 | Duotone Kiteboarding
2026, shaping the way! The 2026 Duotone Twintip range is here, refined, responsive, and designed for every style of rider. In this Tech Talk, Duotone board designer Valentin Peiker walks you through the new lineup and th...

The Kite Pod #6: Lewis Crathern / Big Air Legend Signs With Harlem!
Lewis takes on a new venture and we’re exited to see where this is going! In this engaging conversation, Lewis Crathern shares his journey from being a prominent kiteboarder with Duotone to transitioning to Harlem,...
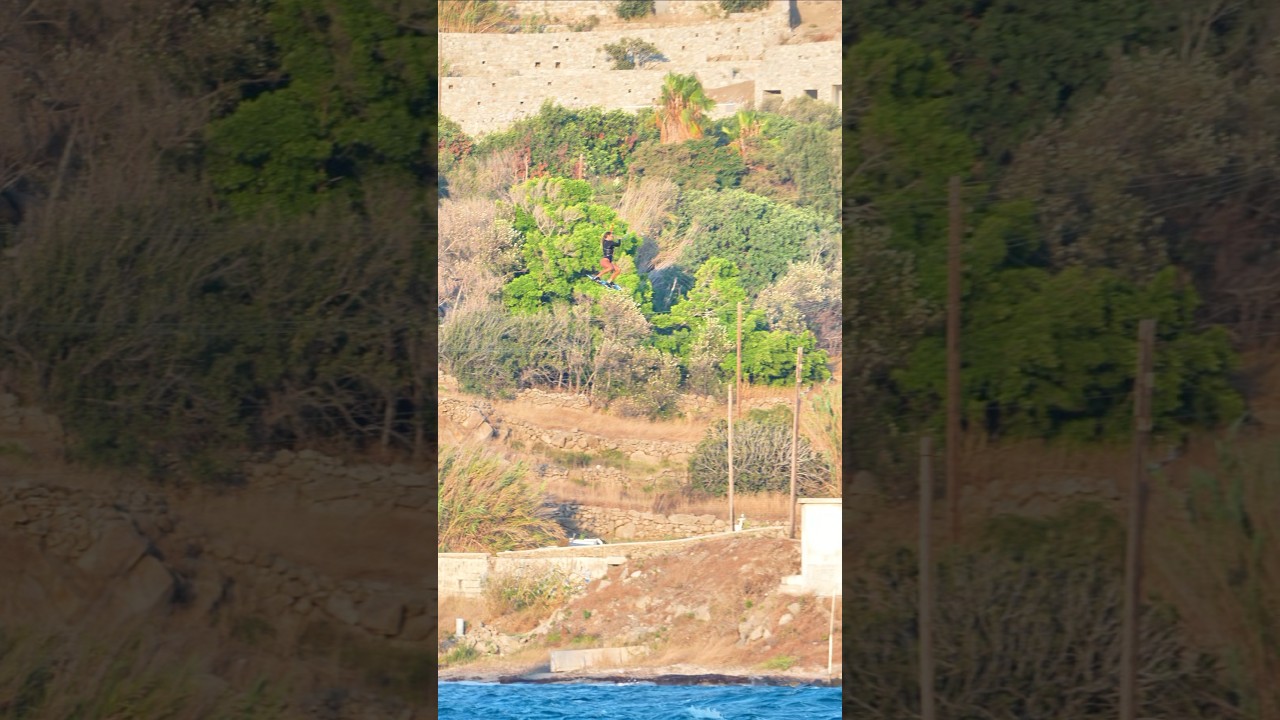
Can you guess how high did I jump? #extremesports #kiteboarding #watersports
Soaring through the sky! Would you try this? 🪁 @DUOTONEKiteboarding @PaulaNovotna The post Can you guess how high did I jump? #extremesports #kiteboarding #watersports first appeared on IKSURFMAG....

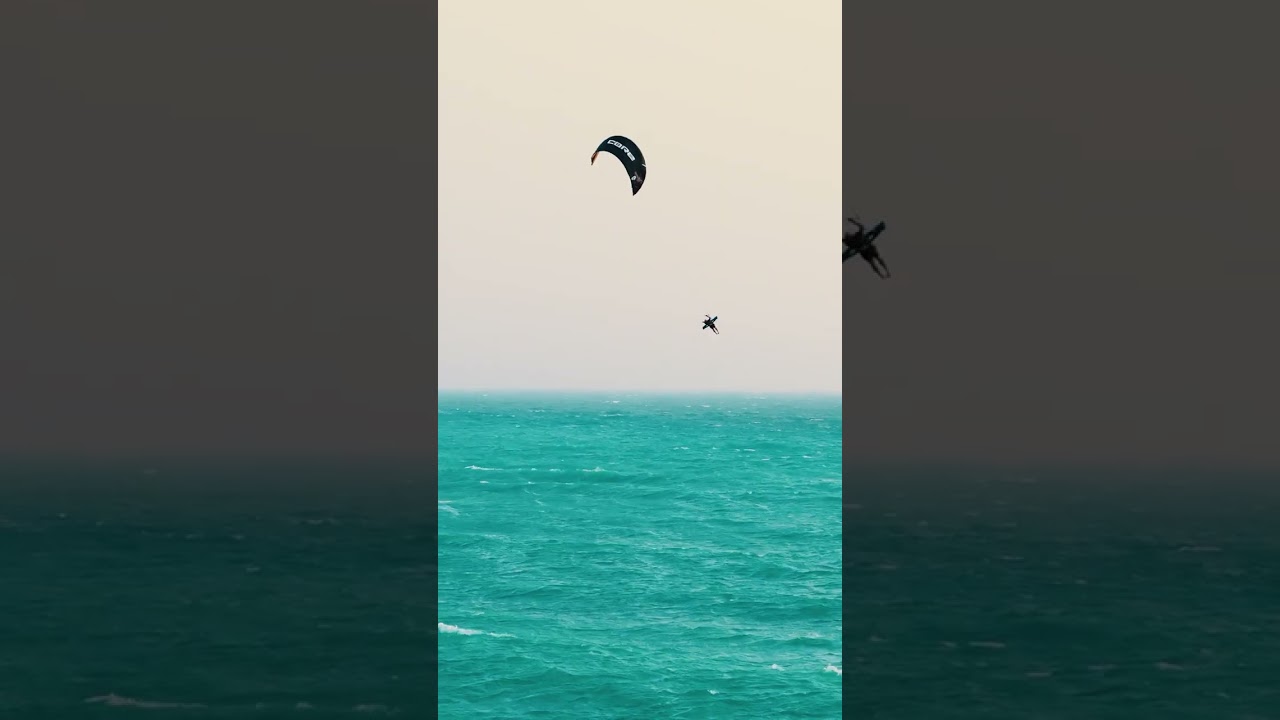
Would you like to try to fly? #watersports #extremesports #kiteboarding #duotonesports
Is it a bird? Is it a plane? No its Paula Novotna! Just casually flying above you 🙋♀️ . @DUOTONEKiteboarding @PaulaNovotna The post Would you like to try to fly? #watersports #extremesports #kiteboarding #duoto...
@gielvlugt Always Chasing the Next Thrill | Kiteboarding Adrenaline Ride #ridecore #kitesurf
The never ending chase. 🌪️ @gielvlugt always chasing the next thrill 🎥 @bagarov #ridecore #corekites #kitesurf #kitesurfing #kiteboarding #gokiting #bigair The post @gielvlugt Always Chasing the Next Thrill | ...

::: Born for the gnarly days.
Don’t hold back… #ion #bigair #kiteboarding The post ::: Born for the gnarly days. first appeared on IKSURFMAG....

Reaching Flow State While Kitesurfing in Chile | @gabrielmbenetton
Smooth and stylish. when you reach flow state in Chile @gabrielmbenetton 🎥 @supernothing_ofc #ridecore #corekites #kitesurf #kitesurfing #kiteboarding #gokiting The post Reaching Flow State While Kitesurfing in Chi...
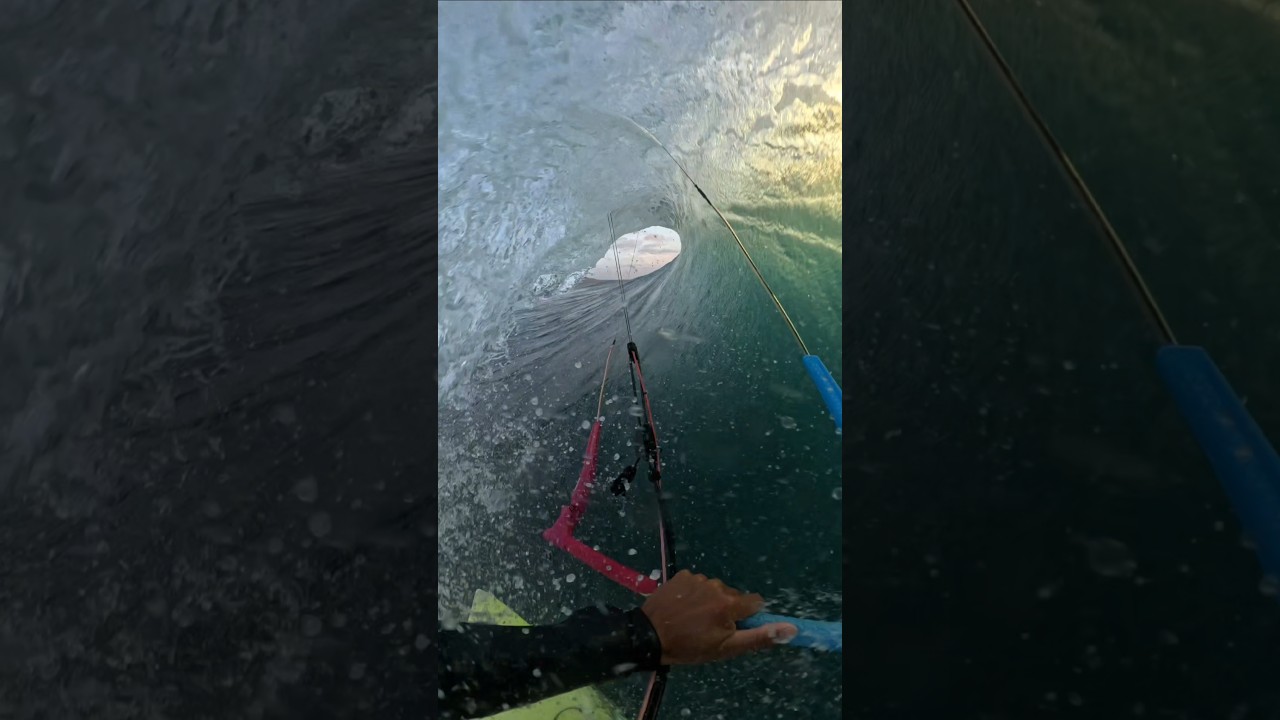
crazy barrel
Catching some shade! The post crazy barrel first appeared on IKSURFMAG....

Closing down the inside! #courtintheact #kitesurfing @DUOTONEKiteboarding #freeride #kiteboarding
Inside lines for days! The post Closing down the inside! #courtintheact #kitesurfing @DUOTONEKiteboarding #freeride #kiteboarding first appeared on IKSURFMAG....
The Kite Pod #6: Lewis Crathern / Big Air Legend Signs With Harlem!
In this engaging conversation, Lewis Crathern shares his journey from being a long-time team rider with Duotone to transitioning to Harlem, a smaller, sustainability-focused brand. He reflects on his memorable experience...